All Guides
Signing up
Sign up and configure your organization account on Finobi using Microsoft Office 365
Step 1: Go to the Finobi Platform
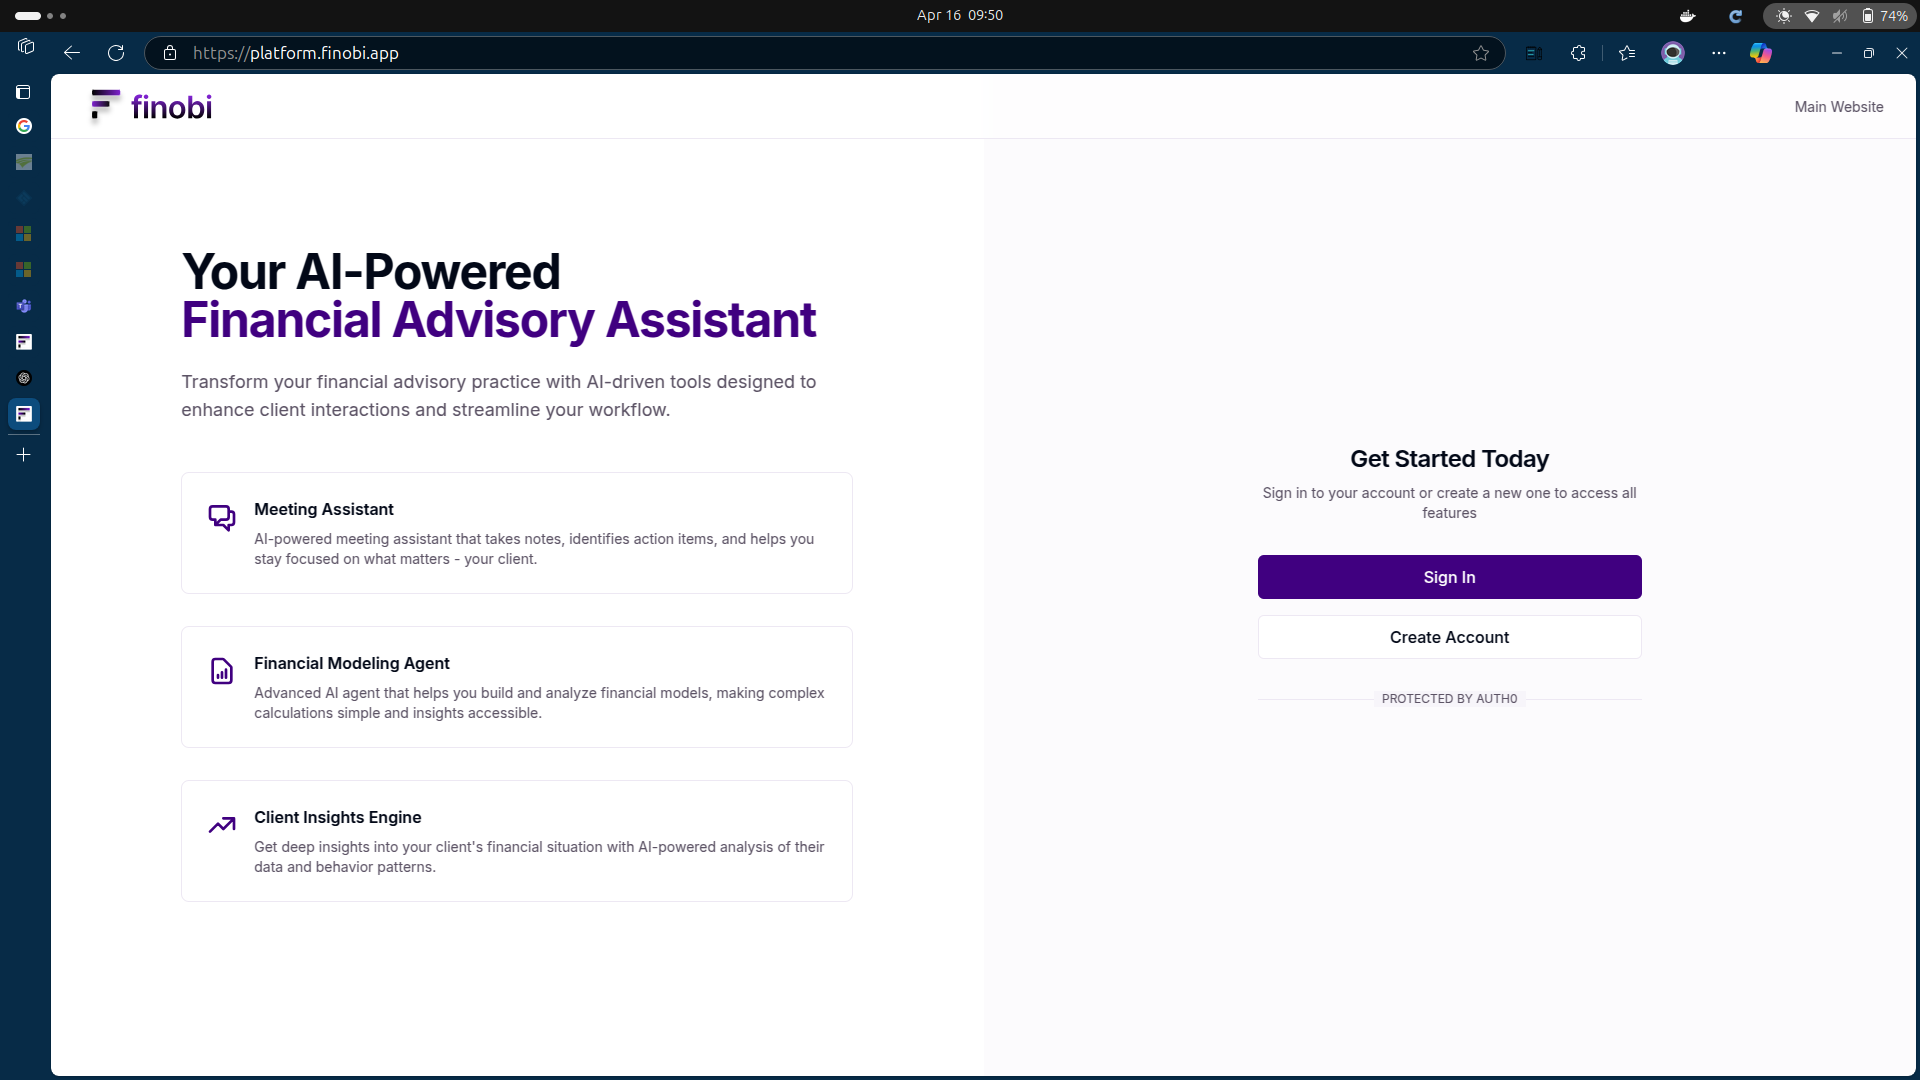
Navigate to https://platform.finobi.app/ in your web browser.
Step 2: Click on "Create Account"
- Select the "Create Account" option to begin the registration process.
Step 3: Sign up using Microsoft Office 365
- Choose the option "Sign up using Microsoft Office 365"
- If you are not an admin of your Microsoft Office 365 organization, then you should contact your organization administrator to help with the consent for required permissions.
Step 4: Grant Permissions

Provide consent for the requested permissions. If you are an admin, grant "access on behalf of the organization" so your team can also sign in. If you are not an admin, ask your admin to do this.
If you are a Microsoft Office 365 administrator for your organization and you are just providing the consent for permissions, you can close finobi app after this step. Your users will now be able to use finobi.
⚠️ Admin Note
If you did not grant consent "on behalf of the organization" during this step, or if you want to provide consent only for select users instead of all organization users, please refer to the Microsoft Admin Consent guide for detailed instructions.
Step 5: Create an Organization
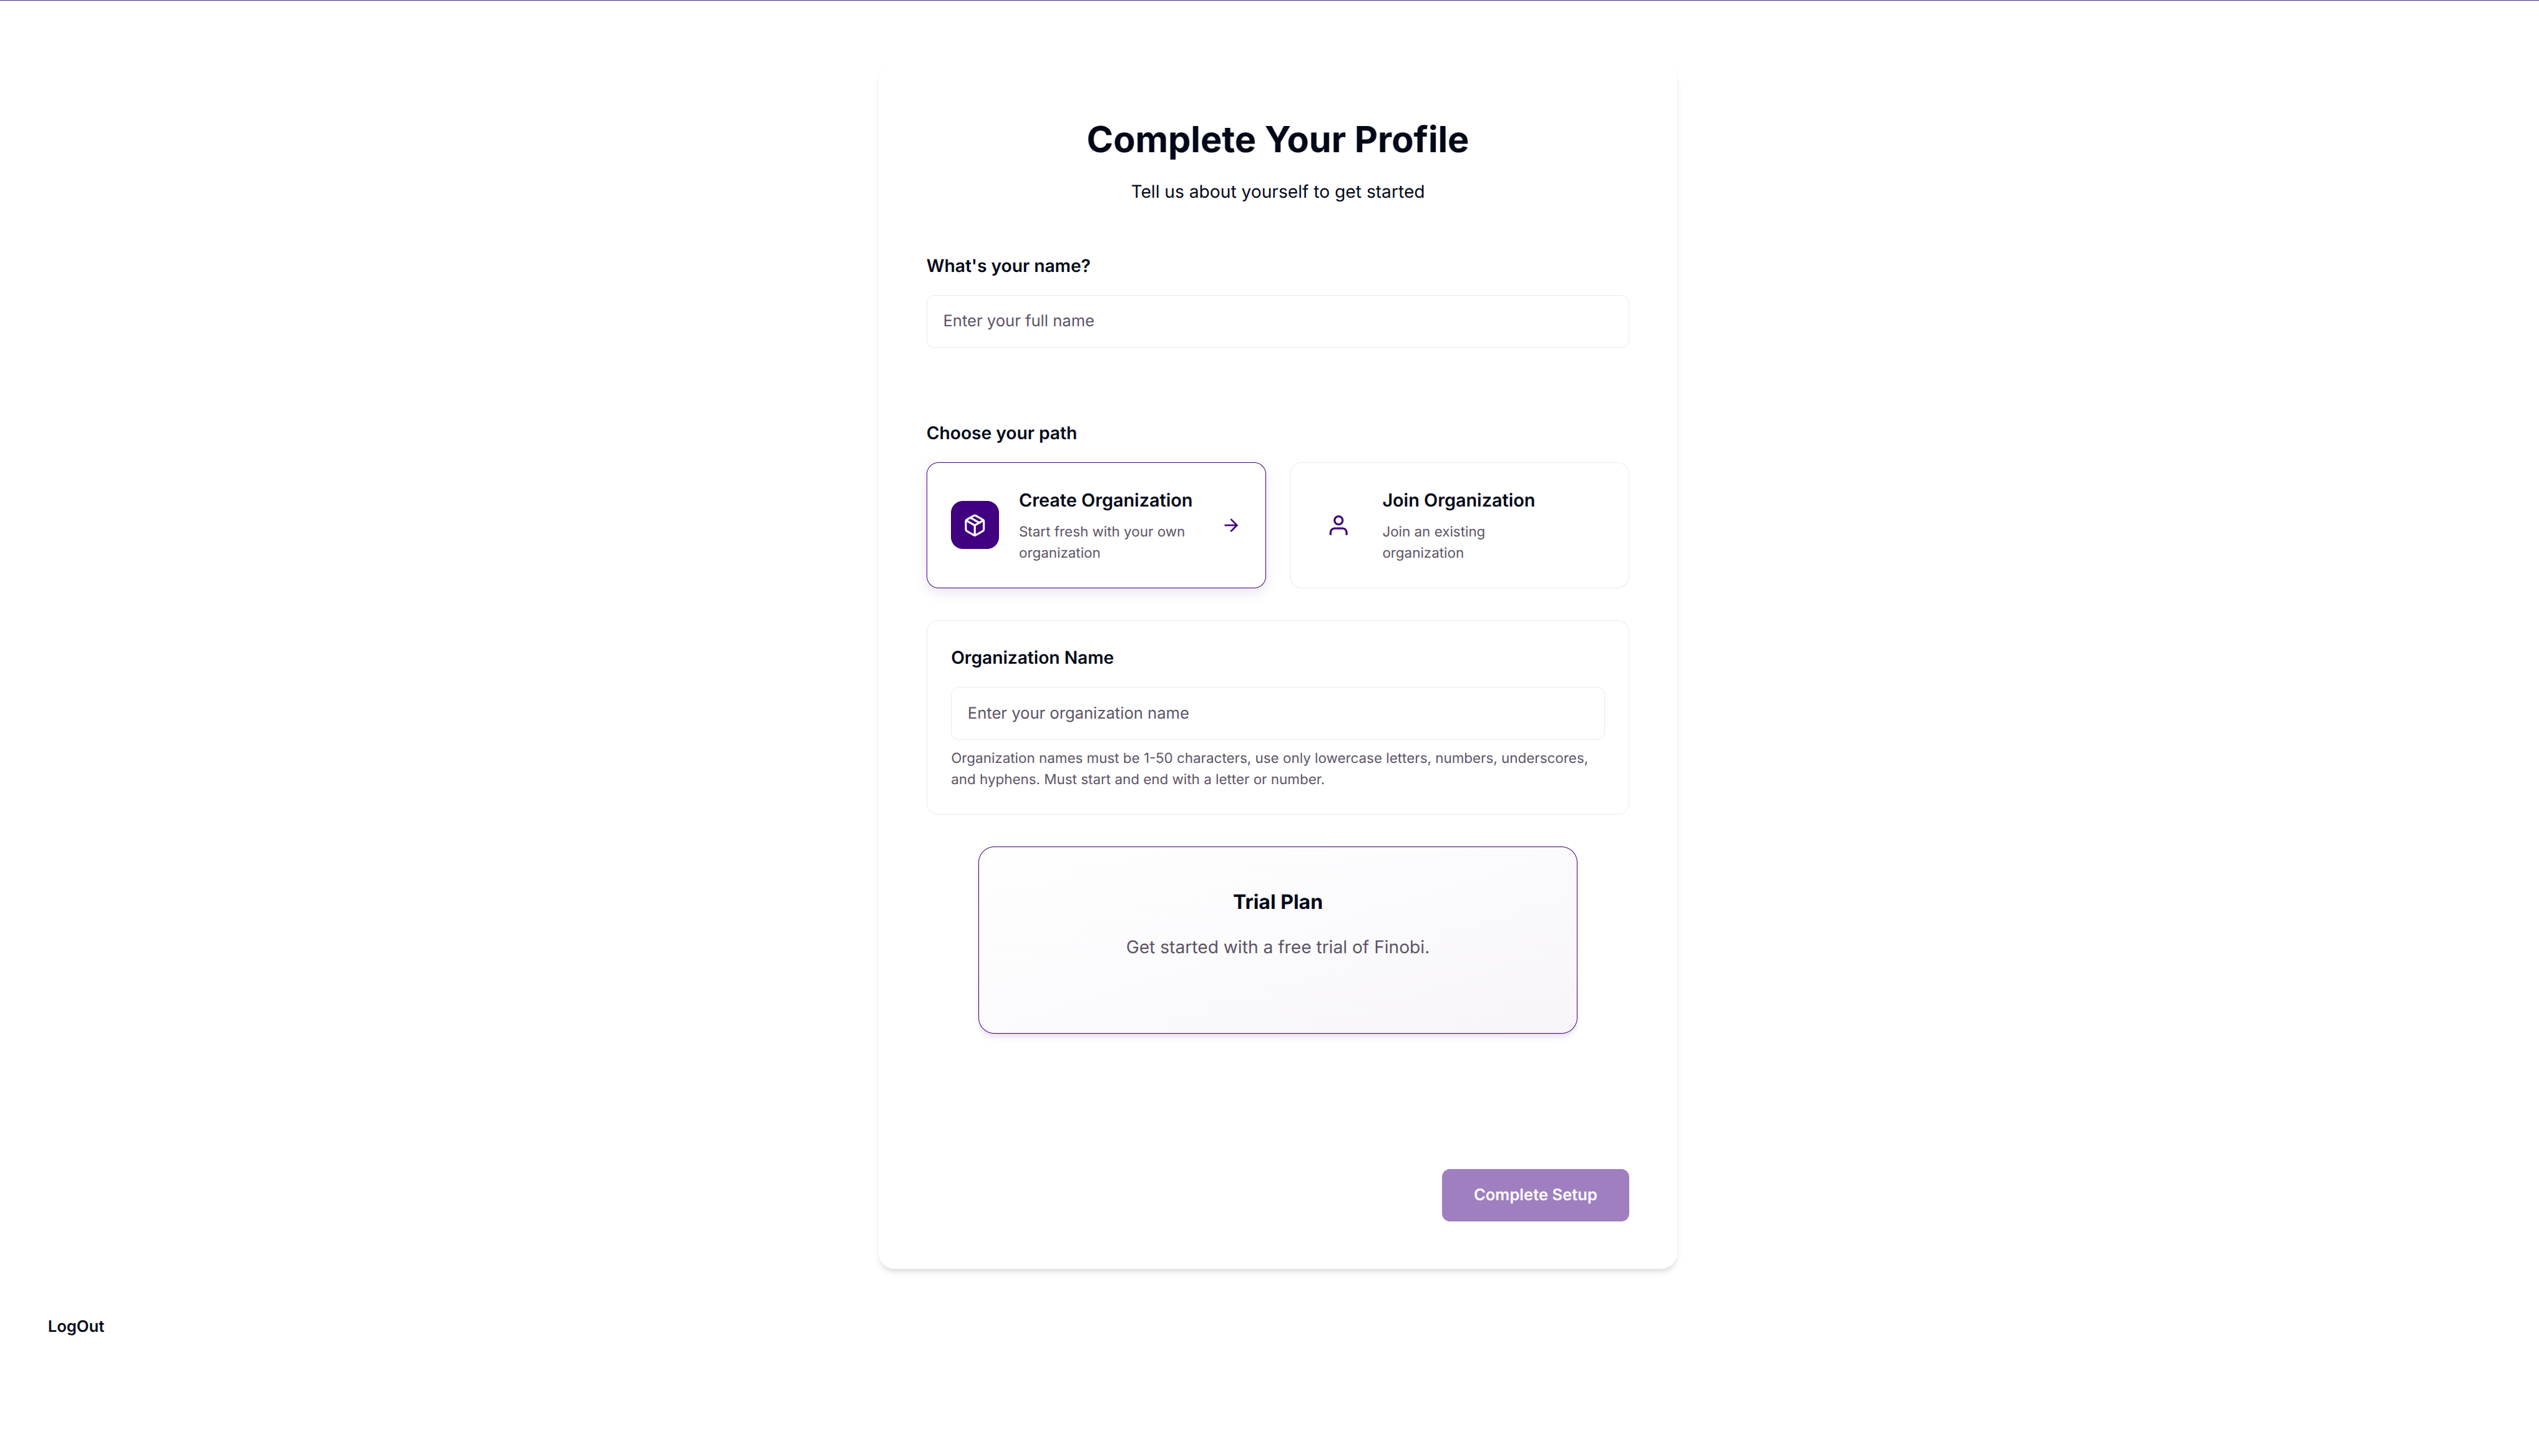
Choose "Create Organization" and follow the prompts to set up your organization.
Step 6: Once you have entered the organization name, click on complete setup to create the organization
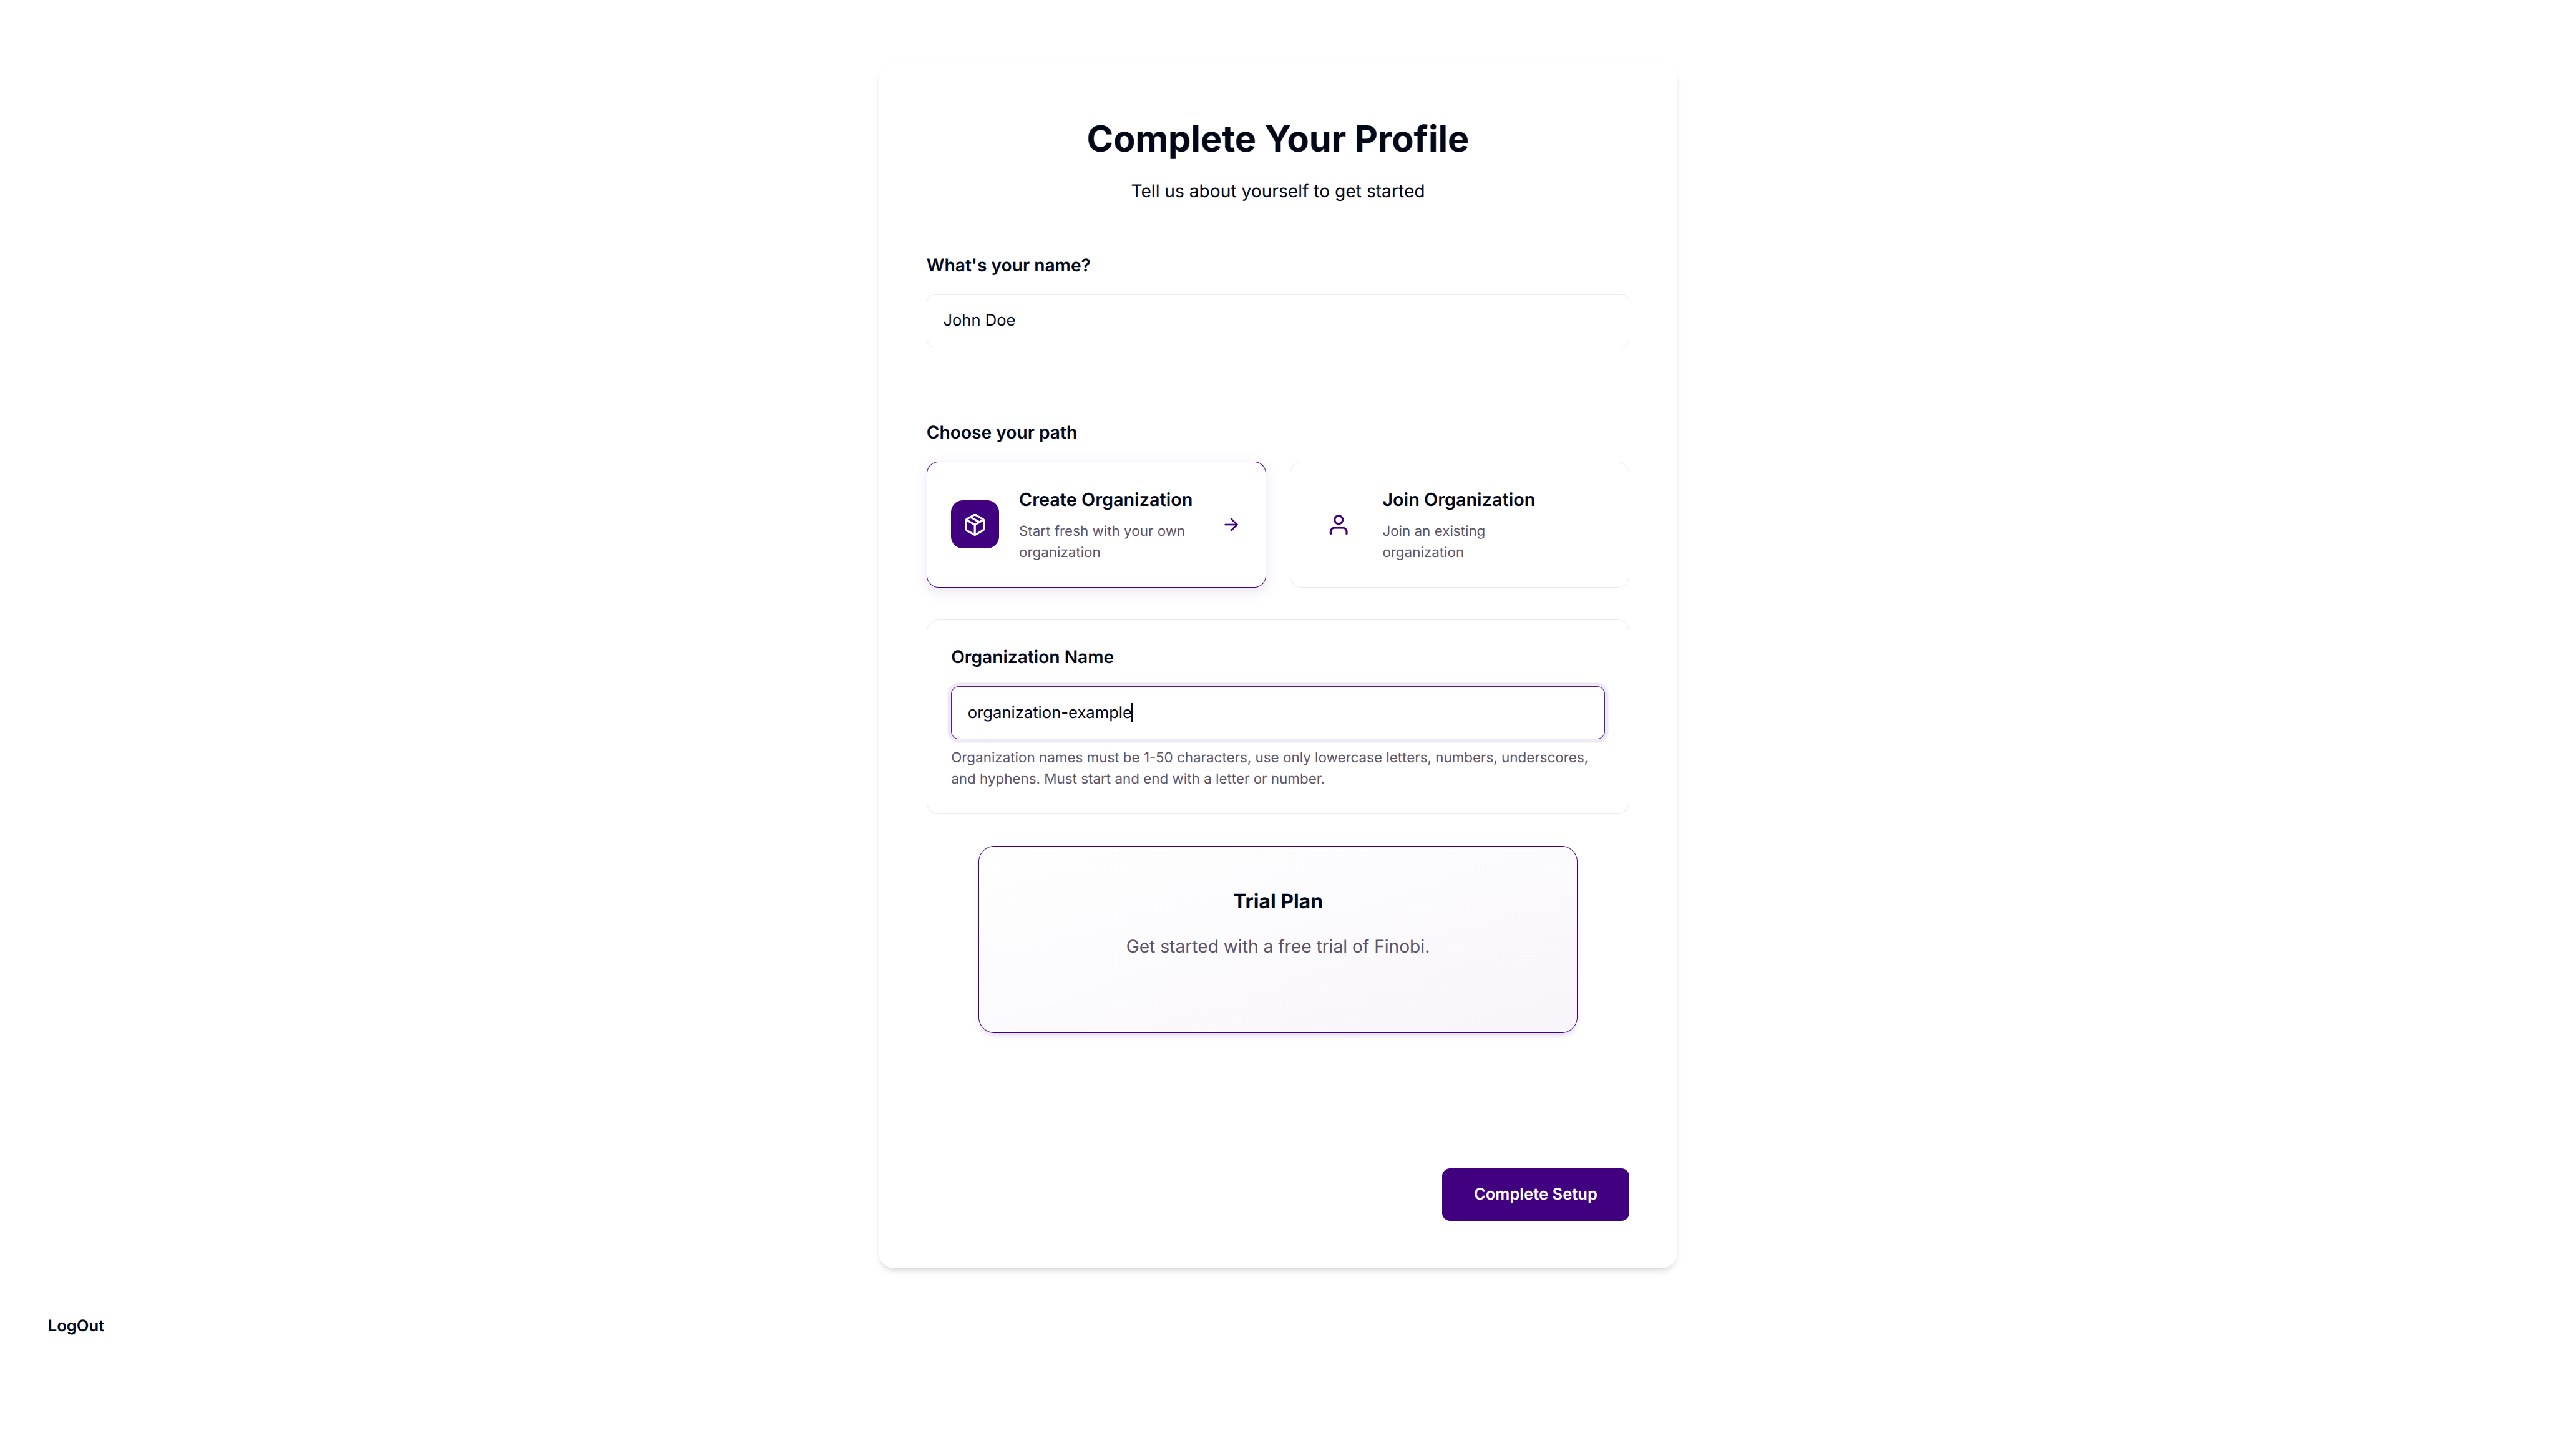
Once the organization name is set up correctly , click on complete setup to create the organization
Step 7: Access the Admin Dashboard
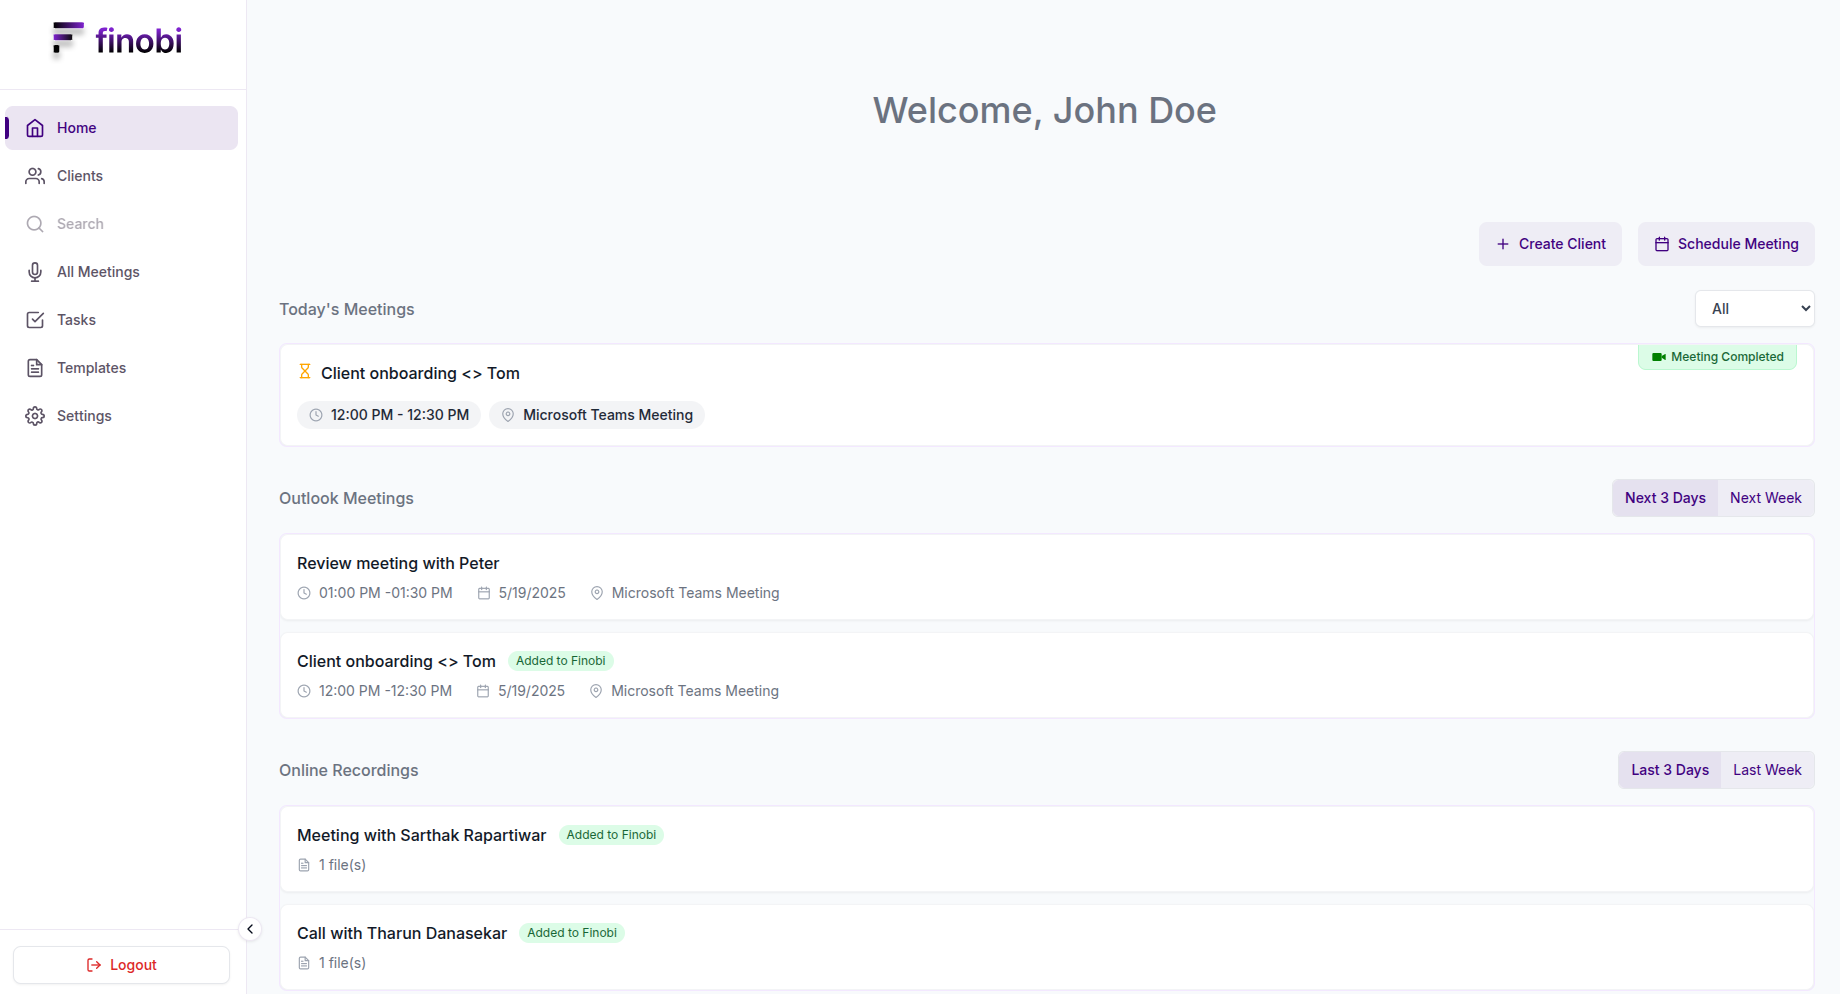
After completing setup, you will be redirected to the admin dashboard. Your registration is now complete.