All Guides
Worksorted Integration
Learn how to integrate Worksorted with Finobi
Overview
We're excited to announce the integration between Finobi and WorkSorted, two powerful platforms designed for financial advisors.
With the Finobi-WorkSorted integration, advisors can now:
- Import existing clients from WorkSorted directly into Finobi, bringing all client data into your AI platform
- Create new clients from Finobi that automatically appear in your WorkSorted
- Upload AI-generated file notes directly to client profiles in WorkSorted, ensuring all documentation stays centralized
- Assign tasks created in Finobi directly to WorkSorted, maintaining workflow continuity across both platforms
This seamless integration ensures that your client data, notes, and tasks flow effortlessly between both platforms, giving you the best of both worlds.
Connecting Finobi to WorkSorted
Step 1: Access Account Settings
Navigate to the Settings page from the left sidebar in your Finobi workspace.
Click on the Account Settings tab at the top of the page.
In the Account Settings section, locate the WorkSorted Integration card
Click the purple Connect WorkSorted button on the right side of the integration card.
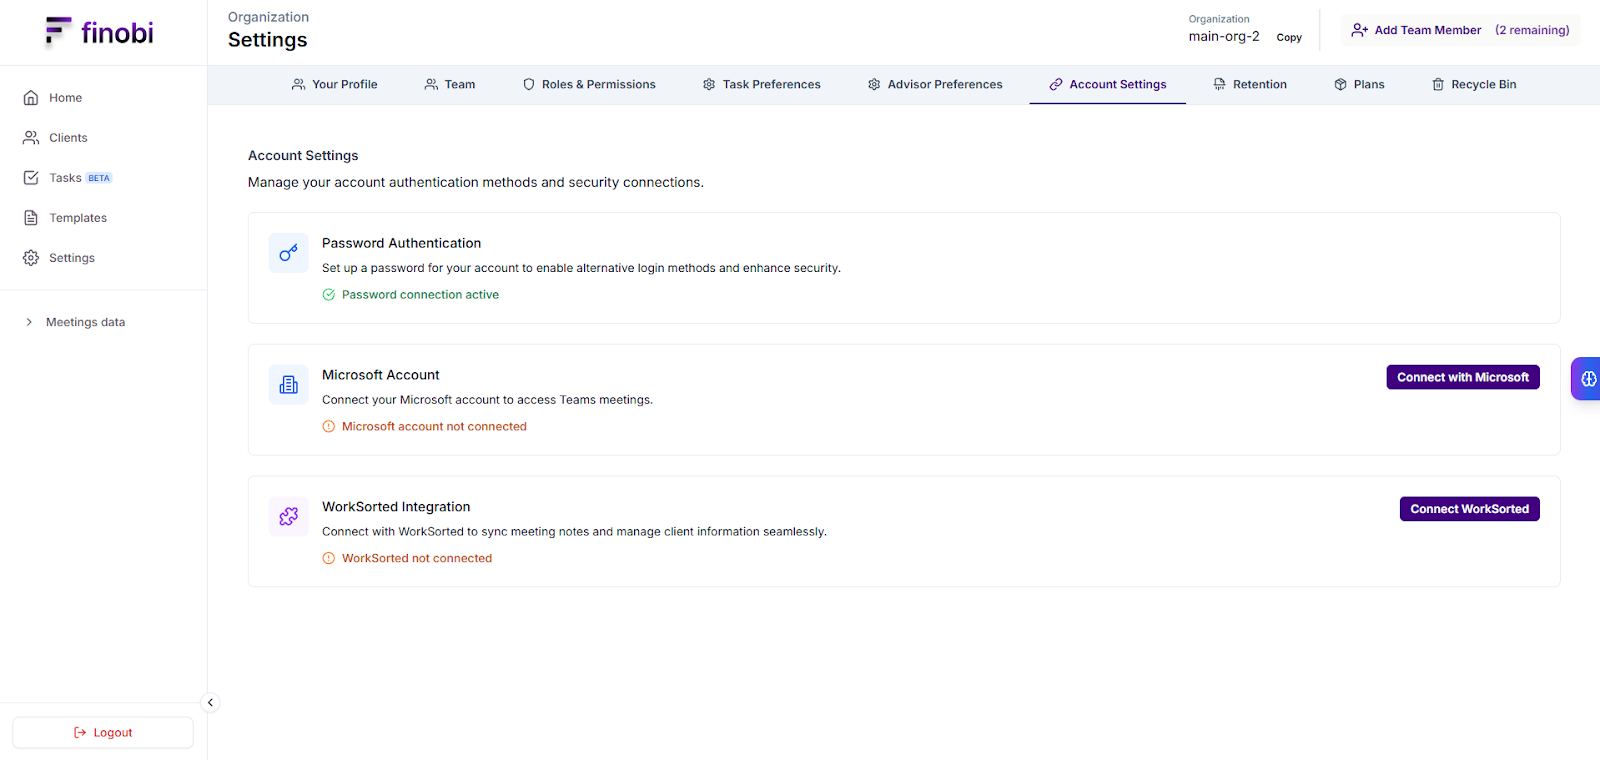
Access the WorkSorted integration settings from your account settings page.
Step 2: Initiate Connection
A connection window will appear. Click the Connect to WorkSorted link to connect.
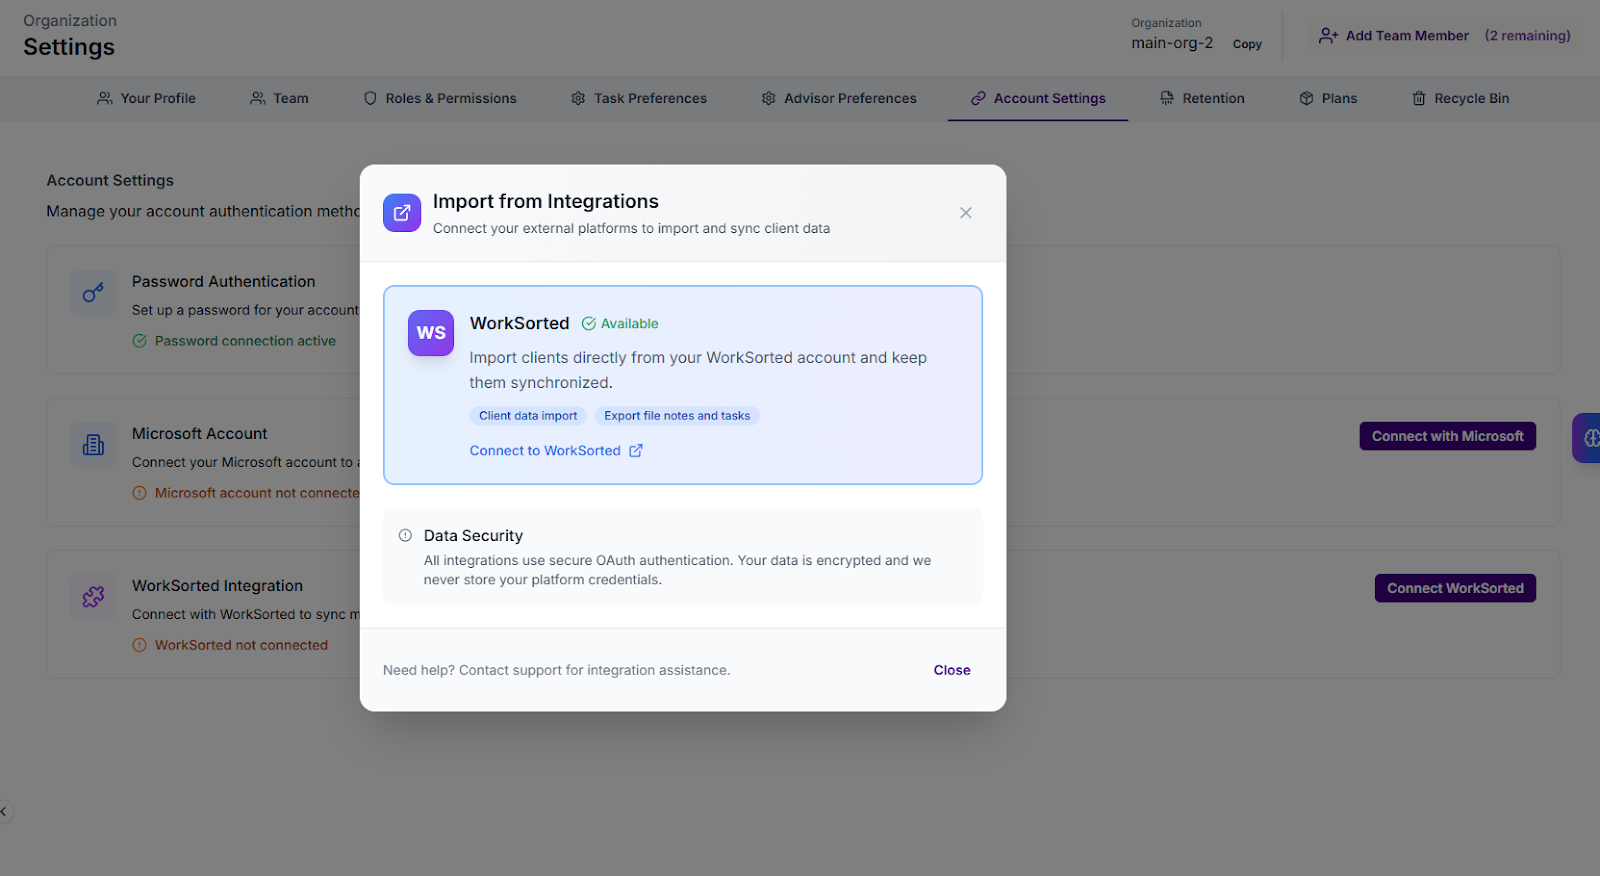
Click "Connect to WorkSorted" to begin the authorization process.
Step 3: Authorize Access
You will be redirected to the WorkSorted authorization page. This secure page will display the message "Finobi is requesting permission to access your account."
To allow Finobi to connect with your WorkSorted account, click the "Authorize" button to proceed.
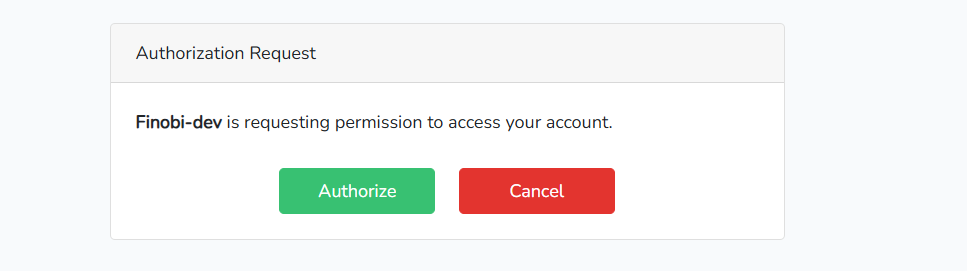
Authorize Finobi to access your WorkSorted account.
ℹ️ Note
If you're not already logged into WorkSorted, you'll be prompted to enter your WorkSorted credentials.
Step 4: Confirmation
After authorizing access, you'll be automatically redirected back to Finobi.
Your Finobi account is now successfully connected to WorkSorted 🎉.
Your WorkSorted integration is now active and ready to use.
Accessing Integration Settings
Step 1: Open WorkSorted Settings
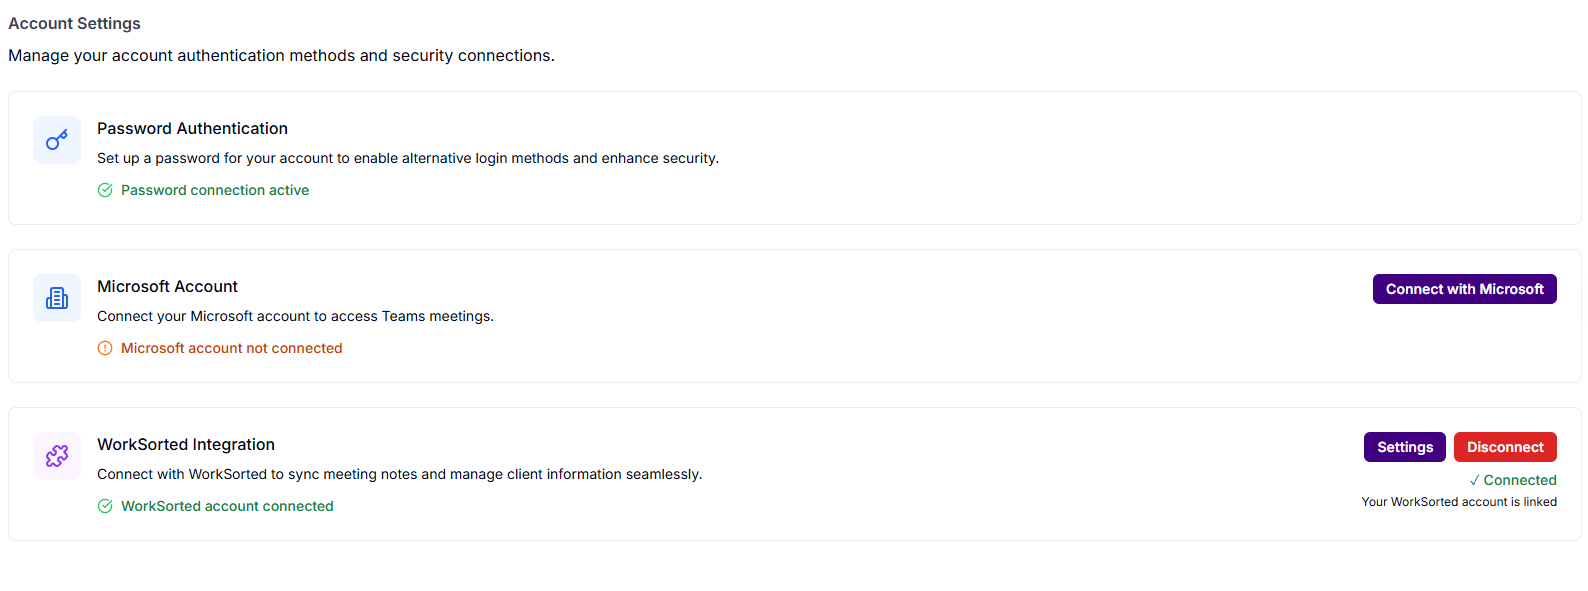
Navigate to Settings > Account Settings in Finobi. Locate the WorkSorted Integration card, which now displays "WorkSorted account connected" with a green checkmark.
Click the purple Settings button on the right side of the WorkSorted Integration card.
Step 2: View Settings Dashboard
The WorkSorted Settings screen opens, displaying two configuration tabs: Map Users and Select Companies.
Mapping Finobi Users to WorkSorted Users
In the Map Users tab, assign each Finobi user to their corresponding WorkSorted user using the dropdown menus. This mapping is required for exporting tasks from Finobi to WorkSorted.
⚠️ Important
User mapping must be completed before you can export tasks to WorkSorted. Without proper mappings, task exports will fail.
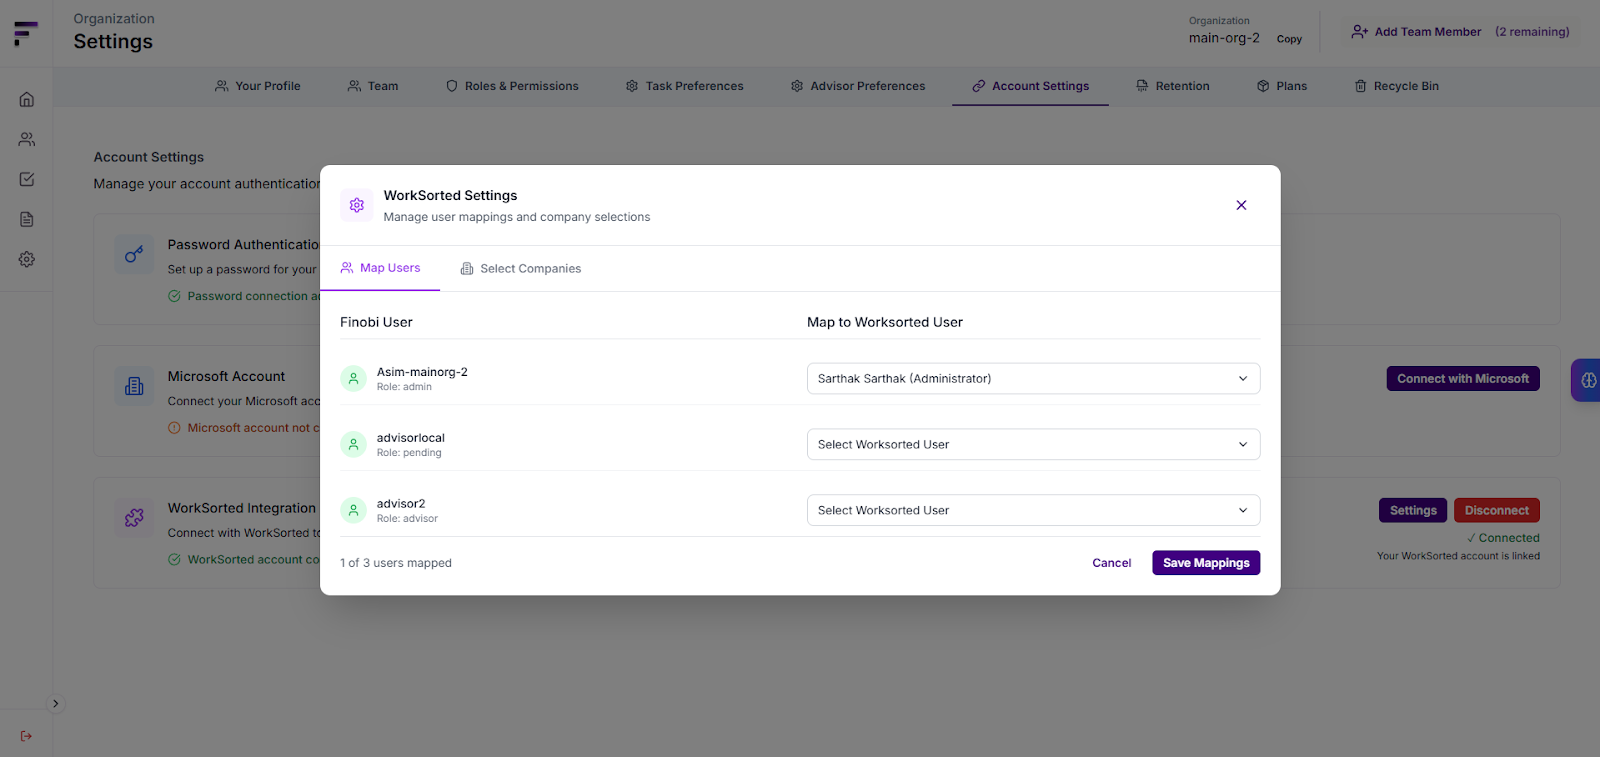
Map each Finobi user to their corresponding WorkSorted user account.
Select Companies for Client Import
Switch to the Select Companies tab and choose which WorkSorted companies you want to sync clients from. Selected companies show a green checkmark.
Use Select All or Deselect All for bulk selection, then click Save Selection.
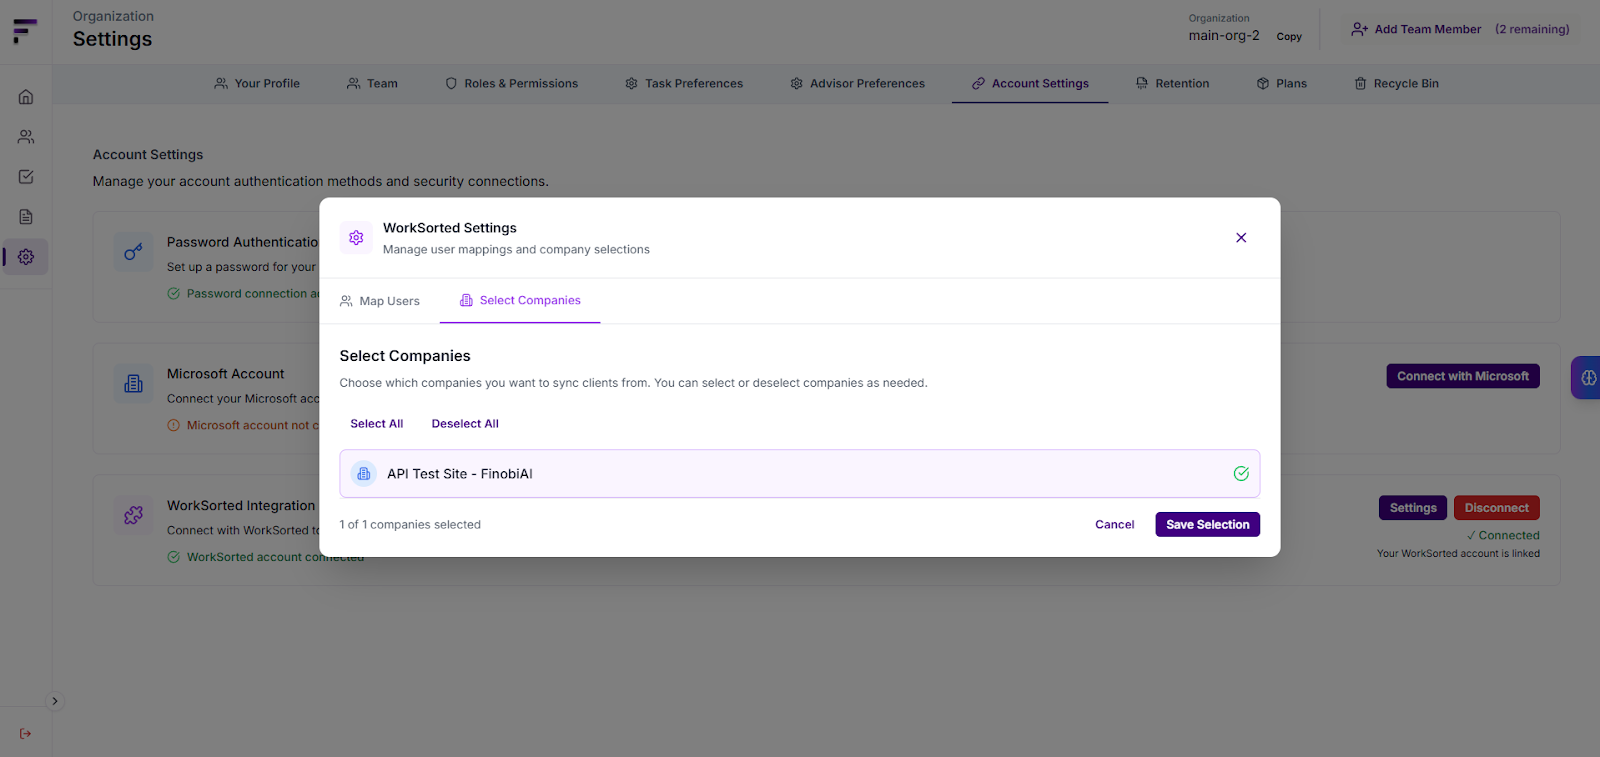
Choose which WorkSorted companies to sync with Finobi for client import.
Next Steps
Now that your WorkSorted integration is configured, you can start using the integration features:
- Import Clients from WorkSorted - Learn how to import existing clients from WorkSorted into Finobi
- Export File Notes to WorkSorted - Upload AI-generated file notes directly to WorkSorted
- Export Tasks to WorkSorted - Export tasks from Finobi to WorkSorted as jobs with automatic assignment